Guides
How To Install Shaders in Minecraft
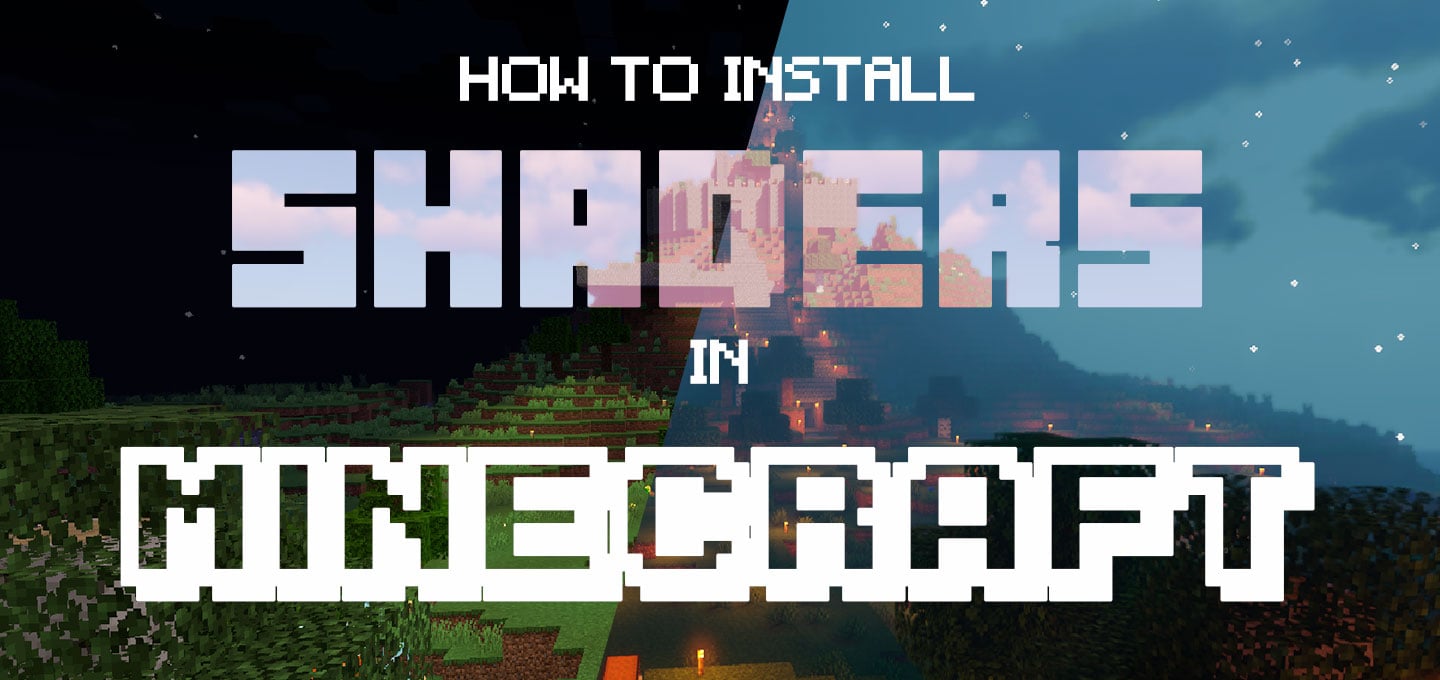
Vanilla Minecraft carries a specific nostalgic charm. Flat lighting and static water feel classic, but they leave major visual upgrades on the table. You can transform your Minecraft world into a cinematic experience using realistic shadows, moving foliage, and dynamic weather. In this Nitrado guide, we explain how to install shaders in Minecraft so you can take full control of your server’s visual atmosphere.
Understanding Shaders Vs. Resource Packs
Before customizing your game’s visual environment, you should know what different files actually do. Resource packs replace the flat image files on blocks and items. Shaders change how light, water, and shadows render on your screen.
Because shaders handle heavy rendering tasks directly on your graphics card, they are completely client-side. You cannot force them on a Minecraft server. A server resource pack prompts an automatic download when a player joins your world. Shaders do not have this function. Every player must install and run their own shader pack locally.
Choosing Your Shader Loader
Standard Minecraft lacks native shader support, meaning your client needs a tool to interpret the downloaded files. Shader engines run as mods to your base game. To bridge this gap, you must install a framework just like you would add any standard mod.
Your choice of tool depends on your optimization needs and your current modding setup. Modern Fabric setups often favor modular performance mods, while Forge players might stick to classic bundles. Review the table below to decide which route fits your client:
| OptiFine (Forge Route) | Iris + Sodium (Fabric Route) | Rubidium/Embeddium + Oculus/NeOculus (NeoForge/Forge Route) |
|---|---|---|
| A single, mature Forge mod that bundles performance optimizations with an integrated shader loader. | Sodium replaces the vanilla renderer to deliver massive FPS gains and eliminate micro-stutter. | Supports most OptiFine shaders but with better overall performance than Forge. |
| Offers an extensive in-game video settings menu for tweaking everything from antialiasing to connected textures. | Iris is the shader-loading engine for Sodium and is an additional requirement for using shaders on Fabric. | Rubidium and Embeddium improve performance over classic Forge paired with OptiFine. |
| Broadest compatibility with legacy shader packs, but updates lag behind new Minecraft releases due to being Forge-based. | Lightweight, modular, and typically updated within days of new Minecraft versions due to being Fabric-based. | Oculus lacks recent updates, though an unofficial fork called NeOculus exists. Embeddium remains the safer bet for now since Rubidium has not been updated recently. |
If you plan to use the Fabric route to maximize your framerate, check out our dedicated guide on how to install OptiFine alternatives like Sodium, Iris, and Lithium for a complete breakdown of these performance mods. Alternatively, for general modding assistance, follow our instructions on how to install Minecraft mods.
Step-By-Step Shader Installation
To get your game looking exactly how you want it, follow these instructions to install your loader and apply your visual upgrades:
- Download and install the shader loader that matches your Minecraft version. For many setups, this means using OptiFine or Iris, depending on the loader support for that specific game version.
- Launch Minecraft once using your new loader profile, then close the game completely to build the correct directory structure
- Find a shader style you like on a community hub like CurseForge or Modrinth. Download the shader pack as a .zip file. Keep the file compressed and do not extract it!
- Open your local Minecraft directory and locate the shaderpacks folder. If you do not see one, create a new folder and name it exactly shaderpacks.
- Move your downloaded .zip shader pack directly into that new folder.
- Start the game again and navigate to Options > Video Settings > Shaders (or the equivalent Iris shader menu). Click on your pack in the list to select it.
- Apply the shader to see the new lighting in your world. If your framerate drops too low, open the specific shader configuration menu and adjust the graphics settings to balance performance.
Sharing Shaders With Your Community
Because visual shaders are client-side, you cannot force players to download your preferred settings upon joining. You can still sync the aesthetic of your Minecraft server by coordinating directly with your community.
To help your players achieve a unified look, drop a direct download link to your chosen shader pack in your Discord announcements channel or server message of the day. Matching your shaders ensures everyone sees the same moody tavern lighting or bright morning sun. This keeps community screenshots consistent and helps builders design structures with a unified lighting goal in mind.
Command Your Server’s Aesthetic
Take complete control over the atmosphere of your server. Whether you want a dark and gritty survival experience or a bright and colorful creative world, the right lighting makes the difference. By customizing these visual settings, you ensure your world reflects your unique style. Tweak your shader preferences, invite your friends, and enjoy exploring your newly upgraded environment.
Understanding Shaders Vs. Resource Packs
Choosing Your Shader Loader
Step-By-Step Shader Installation
Sharing Shaders With Your Community
Command Your Server’s Aesthetic