Guides
Hytale Server Discovery Guide
Adding your own Hytale server to the in-game Server Discovery is the best way to grow your community or make it easier for players to connect. Get ahead of others and prepare your server now that Update 5 has launched with Server Discovery. By registering your server, you ensure that players can easily locate your server in just a few clicks. In this Nitrado guide, we’ll show you how to set up your own Hytale server in the Server Discovery!
Rent Your Hytale Server Hosting
How to Add Your Server in Hytale
The process to add your own server in Hytale is streamlined and easy! However, the Hytale Team will need to manually review and approve of your server before it appears in-game. Follow the sections below to get started.
Adding a Server to Your Account
- Visit the official Hytale Account Manager and sign in with your credentials.
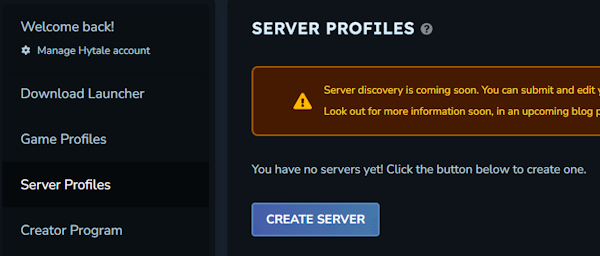
- Navigate to
Server Profileson the left, then clickCreate Server.
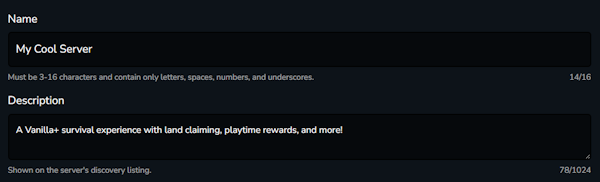
- Enter your server details, including
NameandDescription.
- Once all fields are finished, click
Saveat the bottom of the page.
Verifying Your Domain with Hytale
For owners using a custom domain for their community, Hytale requires a verification process. This security measure confirms that you have authorized access to the web address you are listing, preventing others from impersonating your server. When you add a server with a custom domain, the Hytale Account Manager will provide specific DNS records that must be applied through your domain registrar to verify ownership.
⚠️ Follow the steps provided by Hytale, when prompted after saving your server details.
Hytale Server Approval
After submission, your server enters a review queue. The Hytale Team typically processes these applications within 1 to 7 days, but this timeframe is based on the volume of new submissions. Once the status changes to “Approved,” your server is ready to show in the Server Discovery!
Server Discovery Setup
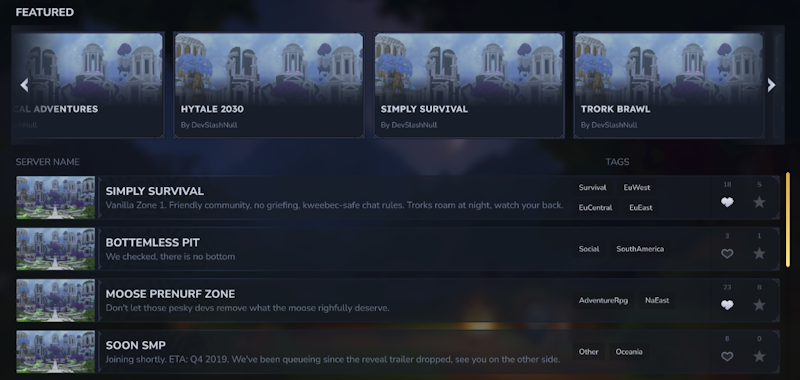
With your server successfully created and waiting for approval, you’re that much closer to having more players in-game. Anyone will be able to search for your server via tags and join without entering any address. By using the Hytale Server Discovery, your community has the best chances at being one of the best servers in all of Orbis 🎮