Guides

IPMI Access
For this to work you need:
- a business Nitrado account
- a dedicated server (root server) assigned to your account (You will see it below “my services” under your account.)
If you are a business customer and want to rent a root server please get in touch with your sales contact or contact us under https://server.nitrado.net/eng/pages/business !
What for
If you have rented a dedicated server from Nitrado you might want to access the out-of-band management controller (also called IPMI), e.g. to power on the server or to force a hard reboot. For simple tasks like this, you can use our website (see https://server.nitrado.net/eng/rootserver/index ) or our API (the NitrAPI, see https://doc.nitrado.net/#api-Rootserver ), if you want to automate it.
If you have more complex tasks, like using the remote console, you need direct access to the IPMI controller. For security reasons this access is only possible via a VPN tunnel (virtual private network) and password protected too.
VPN-Access
To get VPN access to your dedicated servers IPMI, you first need to get the config file. For this, go to https://vpn-ui.nitrado.net and log in with your Nitrado account. If the login fails, please get in touch with your Nitrado sales contact. It is possible that your account still needs to be enabled for VPN access.

After logging in, you need to create a profile, which is connected to your account. Click on “create profile” and enter a profile name.
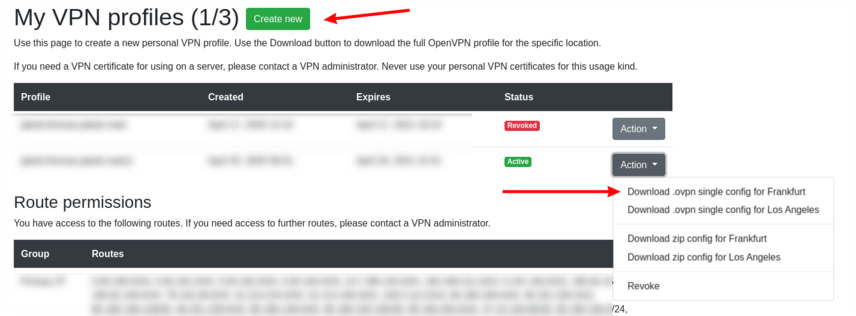
Choose a name that lets you remember on which computer you will use this profile, e.g. “workstation”. You can create different profiles, e.g. one for your laptop and one for your desktop. Download the config for the profile by clicking on “Action” and then “Download .ovpn single config for Frankfurt”.
Then you need to install the OpenVPN client software so you can start the VPN tunnel. This is quite different, depending on what operating system you use. Please follow the instructions for your operating system below.
Windows
For Windows users we recommend using the OpenVPN-GUI. Do the following steps to connect:
- Go to https://openvpn.net/community-downloads/ and select the correct installer for your Windows version.
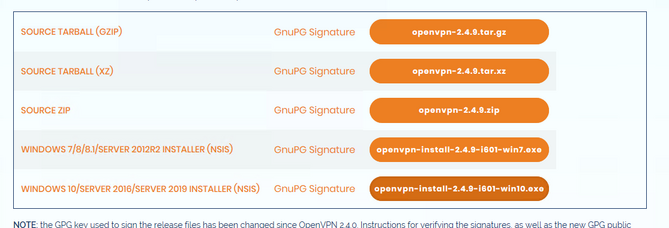
- Download and install the client.
- After installation click on the desktop icon to start the OpenVPN-GUI. A warning about missing config will appear. This is normal.
- Find the OpenVPN-GUI icon on your taskbar. Right click to open context menu, then click “Import file…”.
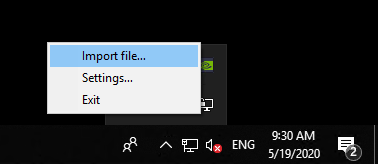
- Select the .ovpn file you downloaded before, click “load”.
- Right click again on the taskbar icon, then click “Connect”.
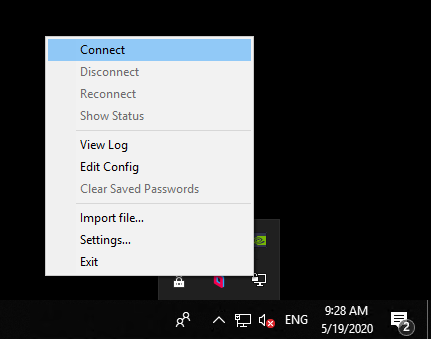
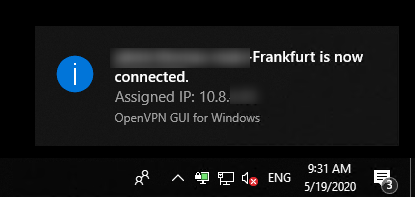
- Now OpenVPN will initiate a connection, the window will disappear after the connection was established.
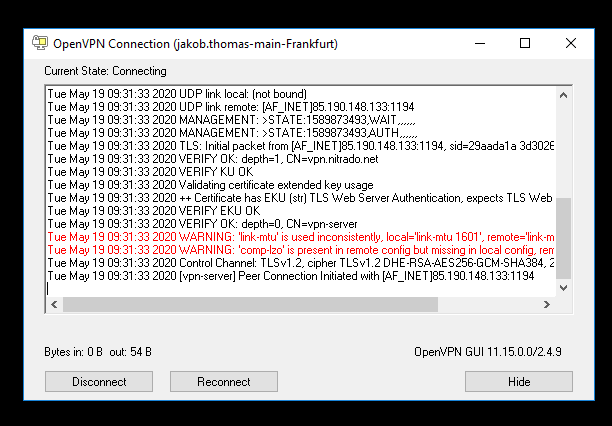
- To check the status and view a log of the connection you can right click on the taskbar icon and then click “Show status”
Linux / NetworkManager
For Linux we recommend using the NetworkManager OpenVPN integration. What exact packages you need to install depends on your distribution and your desktop environment.
For Ubuntu (and other Debian derivatives) you need to run:
sudo apt-get install network-manager-openvpn-gnome
For Fedora or RedHat with Gnome, run:
sudo dnf install NetworkManager-openvpn-gnome
Then do the following steps:
- Open your network settings, click on new (the plus) beside VPN.
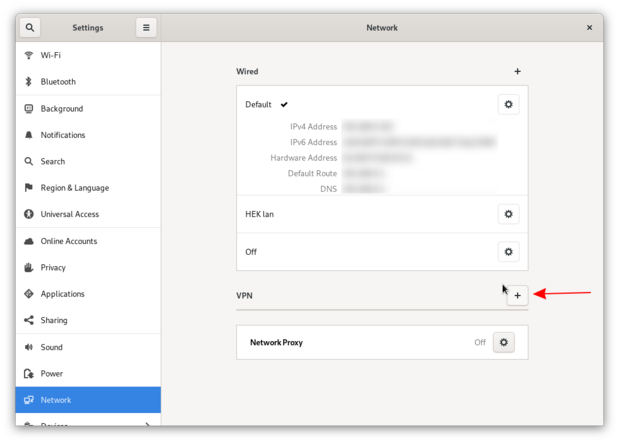
- A window opens, press “Import from file…”.
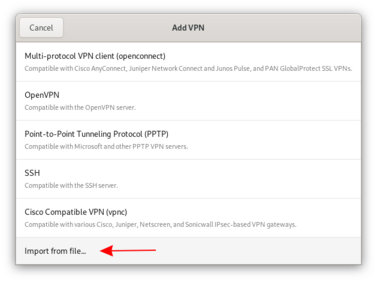
- Select the .ovpn file you downloaded before. Click “Open”.
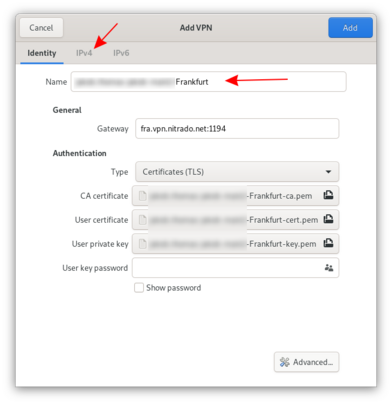
- You can (optionally) change the display name by editing the field “Name”, e.g. to “Nitrado Frankfurt”.
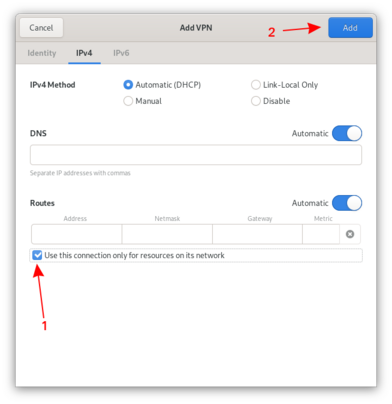
- Go to the tab “IPv4” and enable the option “Use this connection only for resources on its network” by checking the box next to it.
- Do the same in the tab “IPv6”.
- In the top right corner press “Add” to finish adding the connection.
- Now you can connect by pressing the slide button next to the connection.
Alternatively you can do this via command line. Then you need to run the following commands:
nmcli connection import type openvpn file $YOUR_FILE nmcli connection modify $YOUR_CONNECTION_NAME ipv4.never-default yes # to start use nmcli connection up $YOUR_CONNECTION_NAME # optionally you can change the name of your connection to e.g. "Nitrado Frankfurt" by using nmcli connection modify $YOUR_CONNECTION_NAME connection.id "Nitrado Frankfurt"
Replace $YOUR_FILE and $YOUR_CONNECTION_NAME accordingly. The connection name is the filename without the .ovpn extension.
Setting a IPMI user and password
- Log in to your Nitrado Account.
- Go to “My Services”, then click “Dedicated Server” in the side bar on the left
- Choose a server and click “Get IPMI access!”
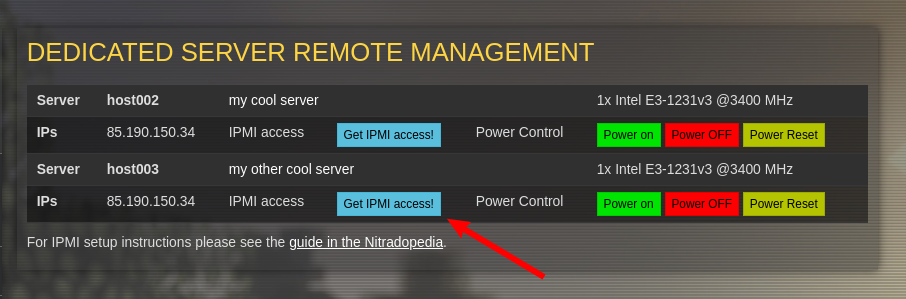
- Write down the IPMI URL, user name and password.
- You can repeat this step to set a new password if you lost it.
Connecting to your IPMI
- Activate your VPN tunnel
- Direct your browser to the IPMI URL from above, should be something like http://ipmi-ms1234.monsterserver.de
- Log in with the user name and password.
- You can now interact with the IPMI controller!
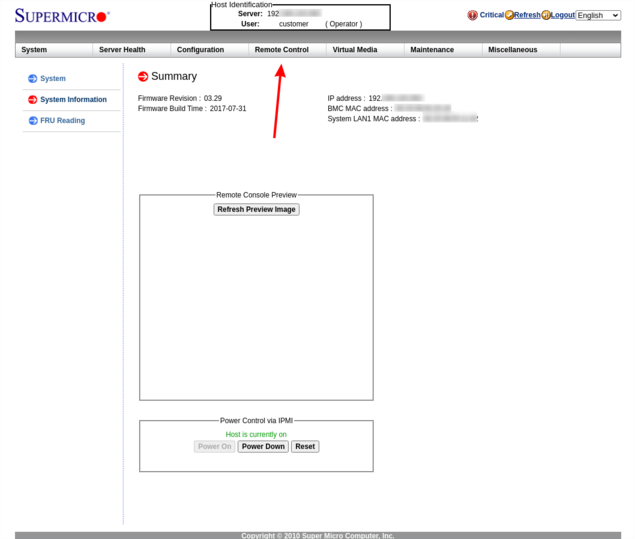
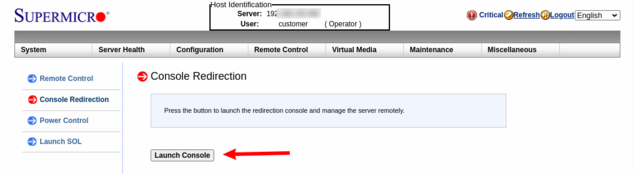
- Click on “Remote Control” and then on “Console Redirection”.
- Press the button “Launch Console” to launch the Remote KVM Console.
Further notes
If new dedicated servers get added to your account you need log in to https://vpn-ui.nitrado.net once to trigger an update. There is no need to download new config again. Close your VPN connection and connect again to access your new dedicated server.

