Guides

Server Grid Editor

Rent your own prepaid Atlas server today at Nitrado.net The Atlas server grid editor is a project developed by Grapeshot Games which allows users to easily customize their server by generating custom JSON files.This project will allow the user to define custom islands, design the in-game map, and generally customize their Atlas experience to the fullest extent, especially with clustered servers.
(This may require Visual Studio to run)
Contents
How to Define custom Atlas grid and Upload configuration and images to your Nitrado Server
Here we will define how to create, upload, and use a custom Atlas grid. We suggest starting your grid with a fresh install, or to wipe your ocean save files.
NOTE: Moving Islands in the editor will disrupt current bases and ships built
Editing the Default .json
- Navigate to the Web interface of your server: How to Access your webinterface
- Stop your server and all expansions
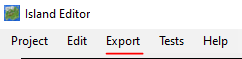
- Open the ServerGridEditor
- Load your Project
- Customize your grids and islands as you prefer
- We suggest using no more than 5 islands in a single grid
- Save your project as a ‘.Json’ with the name of your choosing
- Example: “Config-Cluster.json”
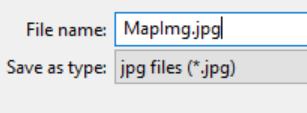
- Export your map image and save it as :MapImg.png”
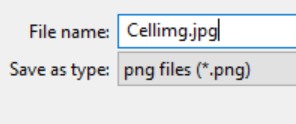
- Export your Cell Images and save them as “CellImg”
- A separate image will be made for each cell automatically (CellImg_0-0.png, CellImg_1-0.png, etc.)
- Navigate to the Web interface of your server: How to Access your webinterface
- Upload your Server Configuration
- Upload your Map and Cell Images
- Make any other changes to the General Settings you would like
- Restart server for changes to take effect
Creating a grid from scratch
1. Starting Your Grid
- First, grab the Server Grid Editor, linked above.
- Open your Grid Editor and click “CreateProject”
- We suggest setting the following fields:
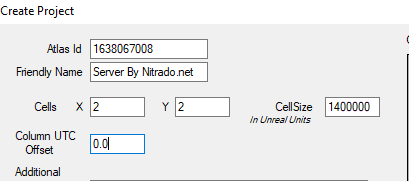
- Atlas ID will be generated Automatically
- Friendly Name (This is your server name)
- Designate Cell X and Y (This is your grid size)
- Designate your “CellSize” (Default Recommended: 1400000)
- Your Column UTC Offset (Default: 0.0)
- Optional Gameplay Properties (Explained below)
- Click “Create” and we now have a grid
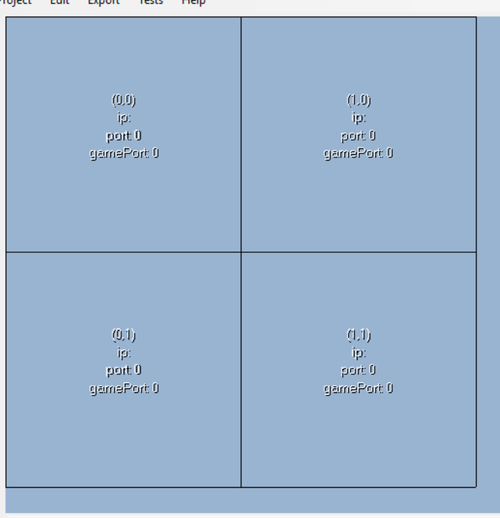
2. Making Your Home Server
Now you have your grid, we need to make a home server for the grid
- Hold CTRL and click on the grid you would like to be the “Home Server”
- Set the name of the server (Shows when traveling to the grid)
- Check the box for “Home Server”
- Save changes
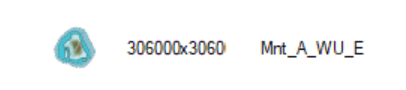
- Add Starting Islands to the grid
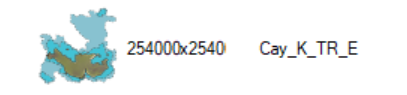
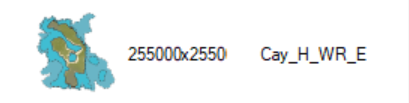
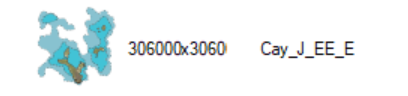
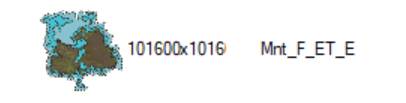
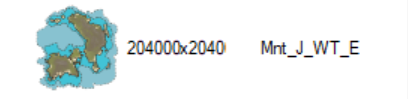
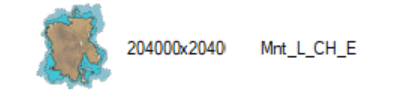
- You can have 4 different Freeport starter islands (North, South East, West).
- Example of some starting islands with Freeports:
-
-
-
-
-
-
-
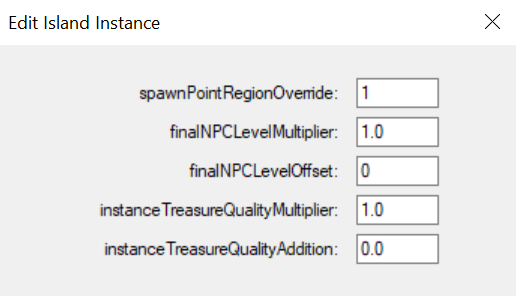
- CTRL+Left Click on your Island to edit the Island Instance
- Set your “spawnPointRegionOverride” starting with 0. (this turns spawning on for the island)
- The spawnPointRegionOverride will be +1 higher for each addition starter island (1 for north, 2 for east, ect.)
3. Setting Spawn Regions
Now that we have islands in place we need to edit the spawn regions
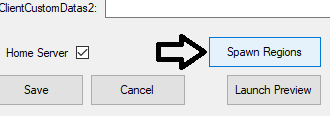
- Hold CTRL and click on your “Home Server” grid
- Click “Spawn Regions”
- You will need a spawn region for each starting island
- Name your regions (These spawn names will show in-game)
- Parent Cell will populate automatically
- Save Changes

4. Adding more Islands
- Take note of the island size and biome when placing (Barren, Mountain, Tundra, Polar, ect.)
- Islands ending in _PVE will have caves and other difficulties to overcome
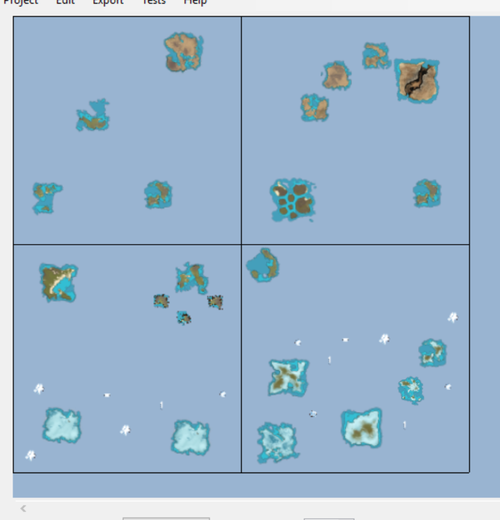
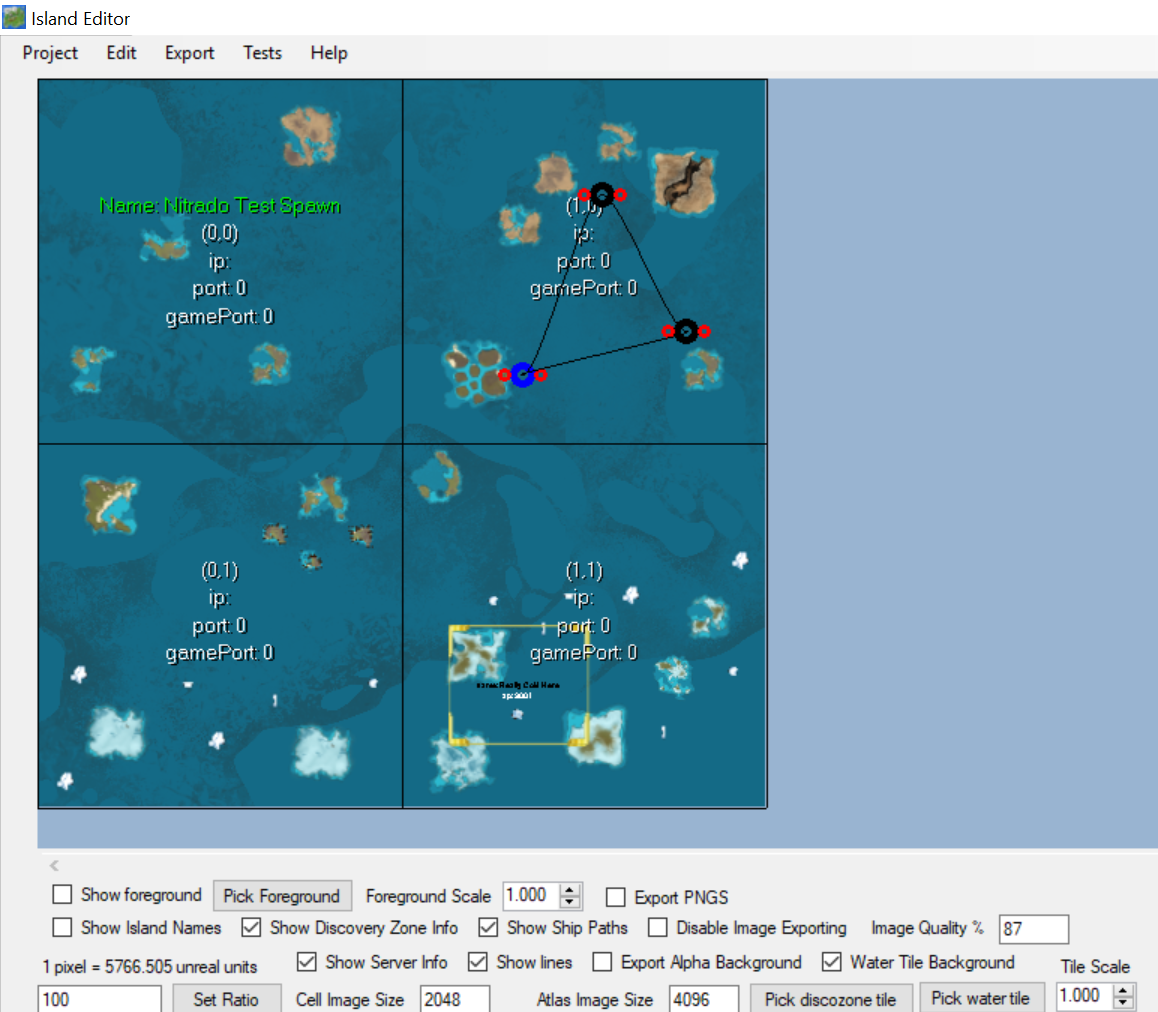
Now is the time to fill your cells with islands to your liking.
(Below is an Example. We suggest using no more than 5 islands in a single grid.)
5. Exporting the .Json and Map Images
There are two types of images:
- Cell images, one for each server in the grid
- A separate image will be made for each cell automatically (CellImg_0-0.png, CellImg_1-0.png, etc.)
- One big image that contains the entire map
Map Image
- In the Server Grid Editor Click “Export” then “Map Image”
- The map image needs to be named “MapImg.png”
Cell Images
- In the Server Grid Editor Click “Export” then “Cell Images”
- The cell images need to be named “CellImg.png
- A file will be created for each cell appending the respective coordinates of each grid
- A file will be created for each cell appending the respective coordinates of each grid
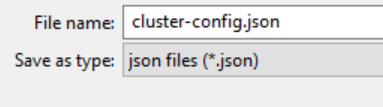
Cluster-Config.json
- In the Server Grid Editor Click “Project” and then “Save”
- save your file as “Cluster-Config.json”
6. Adding the custom grid to your Nitrado Server
Uploading your Grid:
- Create your “Cluster-Config.Json” like described above
- Navigate to the Web interface of your server: How to Access your webinterface
- Stop your server and wait 3-5 minutes
- Click “Upload Server Configuration”
- Upload the “Cluster-Config.Json” you have created
- After you have uploaded your configuration, you must upload images to the server so it can display a map in-game and on the server browser.
Uploading your Images:
- With the Server Grid Editor, generate the map images.
- Navigate to the Web interface of your server: How to Access your webinterface
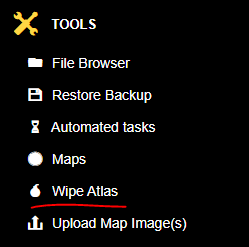
- Upload all the files to your Nitrado Atlas server by clicking “Upload Map Images”.

- Once the images are uploaded you will need to go to the Wipe Atlas section
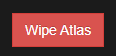
- Select only the option “Mapping”
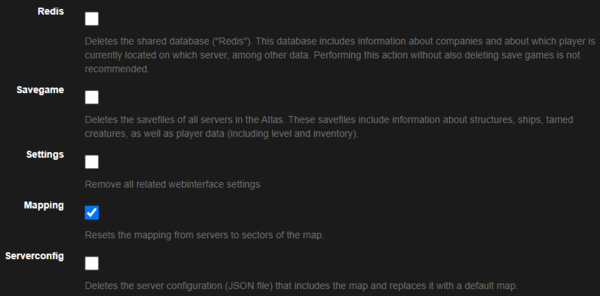
- Select the option “Wipe Atlas” it’s important that before starting the process to wipe, please take a screenshot of the grid to maintain the same server distribution.
- After wiping Atlas you will need to go back to the “Configure your atlas” section and reassign the servers to each grid again.
- Start your server.
Optional Properties
Adding The Background Water Tile
Here you will learn how to add the default water tile to your grid.
- Save your .json file like described above
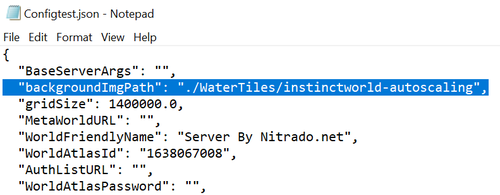
- Open your “Cluster-Config.Json” in a text editor(Notepag, C++ Editor,ect.)
- After the “BaseServerArgs”: “”, Add the following line:
-
"backgroundImgPath": "./WaterTiles/instinctworld-autoscaling",
-
Example of your grid tiles will look:
Adding Ship Paths
- By pressing “P” on the map you can add a ship path
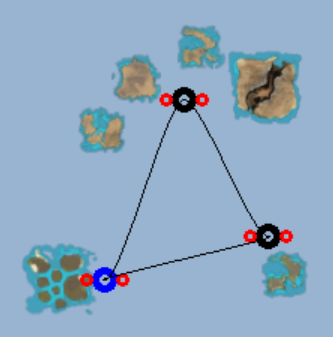
- Select a point and drag it to the desired location.
- Hold right click and drag to edit the path point curve angle.
- You can set up multiple points for one ship path by pressing “shift +” on a ship path point to add a point to the line.
- Ship Paths can be used for AI merchants and Ghost Ships
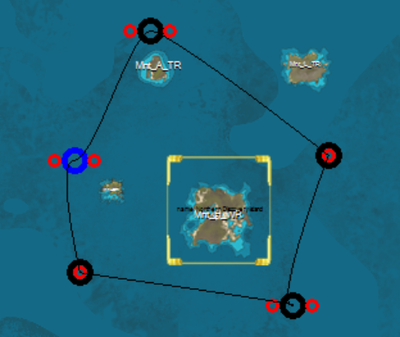
Adding Discovery Zones
- By holding SHIFT+Leftclick and dragging the mouse, you can create Discovery Zones
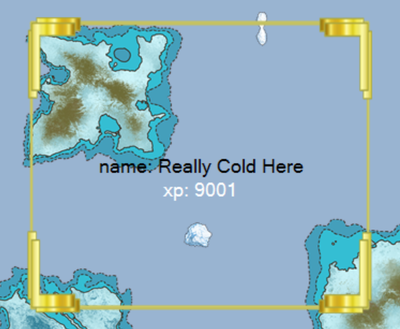
- These zones can be configured with customer names and experience
- Shift+Click the gold border to edit the discovery
Server Tempurature Templates
(Information coming soon)
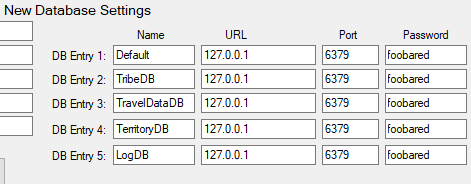
New Database Settings
Copy these setting to use the default values:
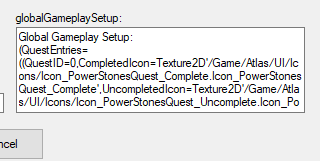
Global Gameplay Setup
- Load your grid in the grid editor
- Click “Project”
- Click “Edit”
- Add the following Line to activate Stones of Power Quests: (Needs additional configuration. Information coming soon.)
Global Gameplay Setup: (QuestEntries=((QuestID=0,CompletedIcon=Texture2D’/Game/Atlas/UI/Icons/Icon_PowerStonesQuest_Complete.Icon_PowerStonesQuest_Complete’,UncompletedIcon=Texture2D’/Game/Atlas/UI/Icons/Icon_PowerStonesQuest_Uncomplete.Icon_PowerStonesQuest_Uncomplete’,QuestName=”Voyage of Power”,QuestDescription=”Journey across the ATLAS to hunt for the Power Stones, and then bring them to the Center Maw!”,QuestPointsOfInterest=((PointOfInterestID=0,PointOfInterestName=”Power Stone 1″,WorldMapPosition=(X=0.966667,Y=0.900000),CompletedIcon=Texture2D’/Game/Atlas/UI/Icons/Item_InfinityGem_Icon.Item_InfinityGem_Icon’,UncompletedIcon=Texture2D’/Game/Atlas/UI/Icons/Item_InfinityGem_Icon10.Item_InfinityGem_Icon10′),(PointOfInterestID=1,PointOfInterestName=”Power Stone 2″,WorldMapPosition=(X=0.166667,Y=0.366667),CompletedIcon=Texture2D’/Game/Atlas/UI/Icons/Item_InfinityGem_Icon2.Item_InfinityGem_Icon2′,UncompletedIcon=Texture2D’/Game/Atlas/UI/Icons/Item_InfinityGem_Icon10.Item_InfinityGem_Icon10′),(PointOfInterestID=2,PointOfInterestName=”Power Stone 3″,WorldMapPosition=(X=0.233333,Y=0.766667),CompletedIcon=Texture2D’/Game/Atlas/UI/Icons/Item_InfinityGem_Icon3.Item_InfinityGem_Icon3′,UncompletedIcon=Texture2D’/Game/Atlas/UI/Icons/Item_InfinityGem_Icon10.Item_InfinityGem_Icon10′),(PointOfInterestID=3,PointOfInterestName=”Power Stone 4″,WorldMapPosition=(X=0.366667,Y=0.500000),CompletedIcon=Texture2D’/Game/Atlas/UI/Icons/Item_InfinityGem_Icon4.Item_InfinityGem_Icon4′,UncompletedIcon=Texture2D’/Game/Atlas/UI/Icons/Item_InfinityGem_Icon10.Item_InfinityGem_Icon10′),(PointOfInterestID=4,PointOfInterestName=”Power Stone 5″,WorldMapPosition=(X=0.433333,Y=0.16667),CompletedIcon=Texture2D’/Game/Atlas/UI/Icons/Item_InfinityGem_Icon5.Item_InfinityGem_Icon5′,UncompletedIcon=Texture2D’/Game/Atlas/UI/Icons/Item_InfinityGem_Icon10.Item_InfinityGem_Icon10′),(PointOfInterestID=5,PointOfInterestName=”Power Stone 6″,WorldMapPosition=(X=0.500000,Y=0.366667),CompletedIcon=Texture2D’/Game/Atlas/UI/Icons/Item_InfinityGem_Icon6.Item_InfinityGem_Icon6′,UncompletedIcon=Texture2D’/Game/Atlas/UI/Icons/Item_InfinityGem_Icon10.Item_InfinityGem_Icon10′),(PointOfInterestID=6,PointOfInterestName=”Power Stone 7″,WorldMapPosition=(X=0.833333,Y=0.766667),CompletedIcon=Texture2D’/Game/Atlas/UI/Icons/Item_InfinityGem_Icon7.Item_InfinityGem_Icon7′,UncompletedIcon=Texture2D’/Game/Atlas/UI/Icons/Item_InfinityGem_Icon10.Item_InfinityGem_Icon10′),(PointOfInterestID=7,PointOfInterestName=”Power Stone 8″,WorldMapPosition=(X=0.966667,Y=0.433333),CompletedIcon=Texture2D’/Game/Atlas/UI/Icons/Item_InfinityGem_Icon8.Item_InfinityGem_Icon8′,UncompletedIcon=Texture2D’/Game/Atlas/UI/Icons/Item_InfinityGem_Icon10.Item_InfinityGem_Icon10′),(PointOfInterestID=8,PointOfInterestName=”Power Stone 9 – Ghost Ship Route”,WorldMapPosition=(X=0.500000,Y=0.765000),CompletedIcon=Texture2D’/Game/Atlas/UI/Icons/HUD_GhostShip_Icon_Complete.HUD_GhostShip_Icon_Complete’,UncompletedIcon=Texture2D’/Game/Atlas/UI/Icons/HUD_GhostShip_Icon.HUD_GhostShip_Icon’),(PointOfInterestID=9,PointOfInterestName=”Bring all 9 Power Stones to Center Maw”,WorldMapPosition=(X=0.500000,Y=0.500000),CompletedIcon=Texture2D’/Game/Atlas/UI/Icons/HUD_BossLocation_Icon_Complete.HUD_BossLocation_Icon_Complete’,UncompletedIcon=Texture2D’/Game/Atlas/UI/Icons/HUD_BossLocation_Icon.HUD_BossLocation_Icon’)))))
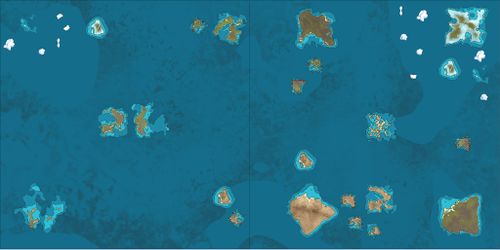
Here is a final example of what you map can look like including ship paths, discoveries, and a variety of islands:
Additional Links:
Contents
How to Define custom Atlas grid and Upload configuration and images to your Nitrado Server
- Editing the Default .json
Creating a grid from scratch
- 1. Starting Your Grid
- 2. Making Your Home Server
- 3. Setting Spawn Regions
- 4. Adding more Islands
- 5. Exporting the .Json and Map Images
6. Adding the custom grid to your Nitrado Server
Optional Properties
- Adding The Background Water Tile
- Adding Ship Paths
- Adding Discovery Zones
- Server Tempurature Templates
- New Database Settings
- Global Gameplay Setup

